You are using an out of date browser. It may not display this or other websites correctly.
You should upgrade or use an alternative browser.
You should upgrade or use an alternative browser.
Boost gauge positioning
- Thread starter gilly
- Start date
I have a Greddy (trust) one with a matching boost gauge. It fits reasonably well and would recommend it.Does anyone know of a good single 52mm pod for the A pillar?
The_Giefster
Leaving Skid Marks
I have a 52mm Turbosmart mechanical boost gauge. I just need the pod!
Yeah Greddy A pillar gauge holder is what I have. They sell on skylinesaustralia and other places regularly second hand. Should be pretty cheap to buy new too if you can find one.
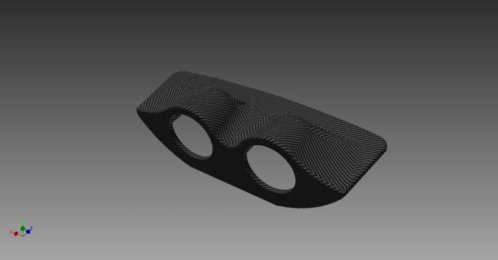
so my turbosmart 52mm boost gauge died after 3 months - LED died, gauge still works, so i decided to whip out the CAD software, and make something where i could see more of the gauge as i just had it sitting in where the clock went, siliconed in place. looking at getting a prosport evo boost gauge, and a prosport evo wideband eventually (once my piggy bank allows me) seem to have an OK review around the place.
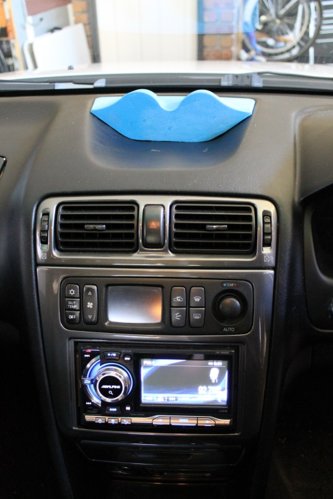
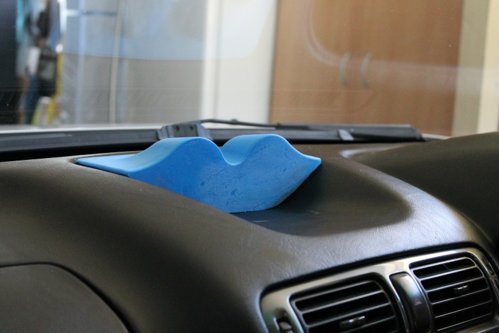
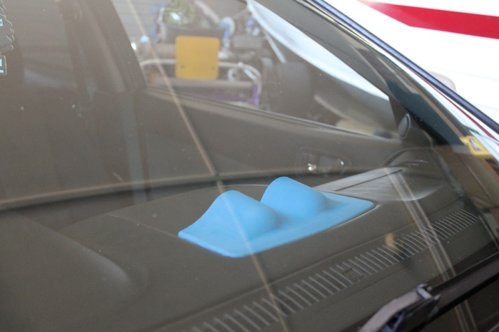
here's what i am currently having created for me by 3D Prototypes and Models, that i drew up,
after i've test fitted it, and maybe even incorporated clips to clip into the factory position, if people are wanting some then i dont mind having more made if it turns out okay. mine will just be plain PLA plastic for now. if i can be bothered i'll mold it and vacuum form a carbon fibre part, but that seems like too much effort at this stage.
Did you position the gauges to angle towards the driver?
The_Giefster
Leaving Skid Marks
Looks good! I had the Prosport Evo series gauges in my Evo and they worked quite well!
whats_doing
QLD Events Manager
Do want.
I was contemplating buying one, but most in my price range have a 200mmx200mm print bed or smaller, and this is 240mm from memory.
If there was a bulk order placed then likely they could be made relatively cheap saving us all some dosh
If there was a bulk order placed then likely they could be made relatively cheap saving us all some dosh
progress update:
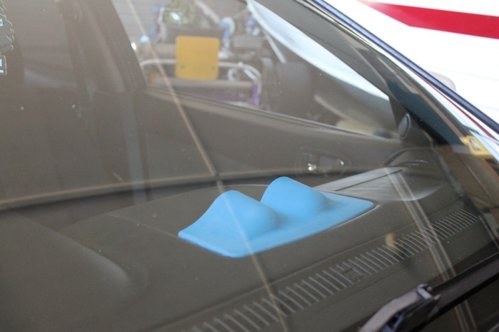
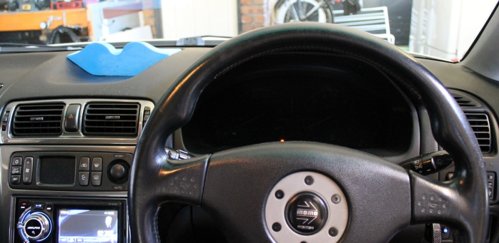
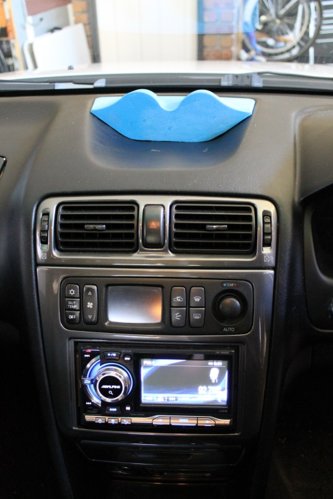
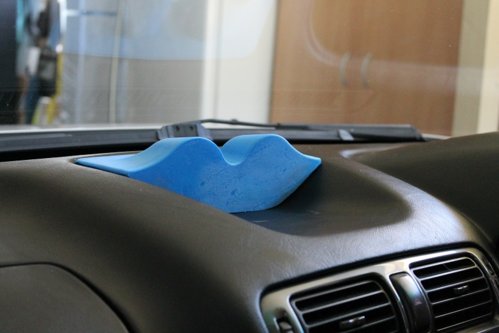
model arrived this arvo, test fitted it and then got the bench grinder out. this one was going to be the plug for a mold, hence no holes.
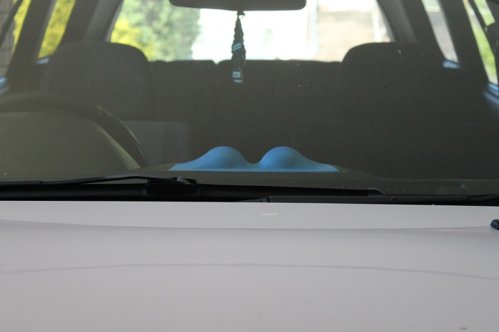
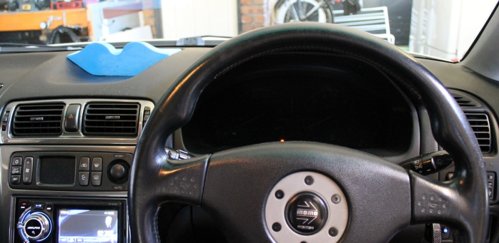
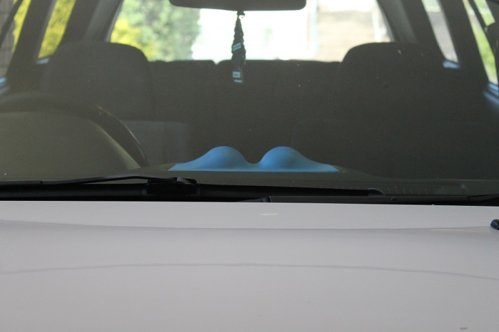
after some modifcation its fitting pretty nicely, going to lower it down 2 or so mm so it sits alittle more flusher but you can barely notice it - only stands out due to blue.
then back onto CAD software tonight, alter the design and then have another one with precut holes printed, get a quote for a bulk lot printed in black, speak to the admins about a small group buy at cost price for ozvr4 members if people are interested (as per forum rules)
at this stage it will take a gauge upto 45mm deep, i know the prosport evo is 30, and my turbosmart is 40. 45mm is to the top of the gauge where the back starts curving, obviously theres like 60mm plus roughly in the middle where the vacuum nipple is.
looking like i will be making them with straight facing gauges at this stage due to being too complex to print otherwise.
Badger
Leaving Skid Marks
Should of made it up to have 3 gauges. But good work, looks aeesome 
progress update:
model arrived this arvo, test fitted it and then got the bench grinder out. this one was going to be the plug for a mold, hence no holes.
after some modifcation its fitting pretty nicely, going to lower it down 2 or so mm so it sits alittle more flusher but you can barely notice it - only stands out due to blue.
then back onto CAD software tonight, alter the design and then have another one with precut holes printed, get a quote for a bulk lot printed in black, speak to the admins about a small group buy at cost price for ozvr4 members if people are interested (as per forum rules)
at this stage it will take a gauge upto 45mm deep, i know the prosport evo is 30, and my turbosmart is 40. 45mm is to the top of the gauge where the back starts curving, obviously theres like 60mm plus roughly in the middle where the vacuum nipple is.
looking like i will be making them with straight facing gauges at this stage due to being too complex to print otherwise.
don't know if lips or 3D moustache.
either way, I'm in when they're mass produced to a limited run.
Almost finished tweaking the Cad drawing to fit, been busy with work & applying for new jobs to fund more car parts, you know what its like!
Should have an ABS prototype mid next week (PLA plastic doesnt like 40+ degree days in the sun, damn hippy corn starch plastic!)
Should have an ABS prototype mid next week (PLA plastic doesnt like 40+ degree days in the sun, damn hippy corn starch plastic!)
Sydo where did you get the bracket to mount your guage? Did it come with the guage or did you buy it separately?So after the weather cooled and the bees cleared, I was able to fit my gauge.
Any progress on the prototype?Almost finished tweaking the Cad drawing to fit, been busy with work & applying for new jobs to fund more car parts, you know what its like!
Should have an ABS prototype mid next week (PLA plastic doesnt like 40+ degree days in the sun, damn hippy corn starch plastic!)
Mrstevieboy
Hesitantly Boosting
Heres a photo of my GFB Boost controller sitting in the passenger side center vent. Sits in there snuggly but I attached a small sticky felt pad to the top to ensure it tight fit.
Doubles as a digital read out and blends in quite well.
**Edit**
Also I tend not to have passengers unless going on a cruise in nice weather so they'll never have a need to complain about only having the outer vent.
Doubles as a digital read out and blends in quite well.
**Edit**
Also I tend not to have passengers unless going on a cruise in nice weather so they'll never have a need to complain about only having the outer vent.
Similar threads
- Locked
- Replies
- 8
- Views
- 2K

