Hello,
As most of you may of been suspecting (in regards to Christians Turbo kit thread)...yes... I have done an upgrade, read on and understanding why the thread has been held to a hault
I'll soon post up a members thread of my whole car's build, budget in excess of $3xxxx
THIS CAR IS AUTO BY THE WAY
So let's get into it
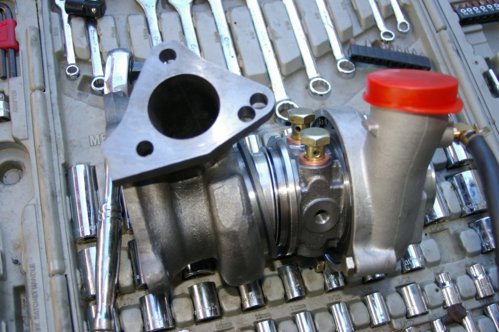
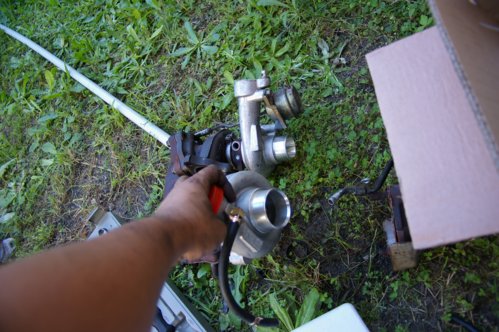
Turbo's are TD05 16G Subaru STI Housing (With Mitsubishi Wheel as standard)
Rating of Turbo is capable of up to 380HP each with 28psi max, Internal Actuators as standard at 8psi
Oil Cooler and relocation kit is of KLS brand which can be found from 999Automotive
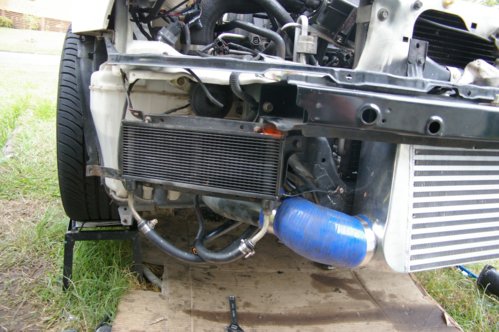
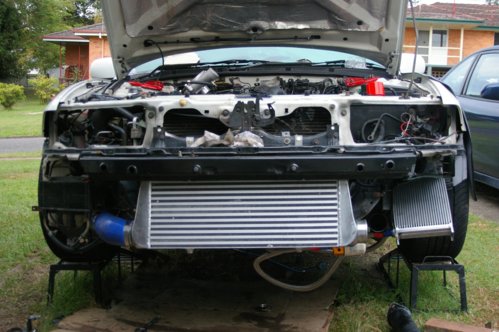
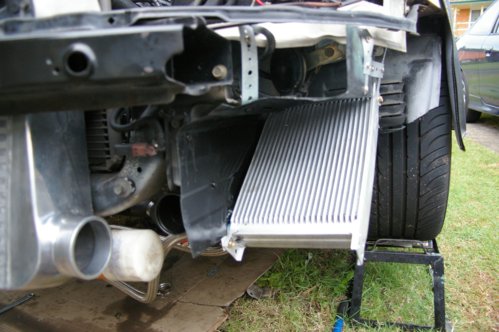
Intercooler is of 600x300x100 (Yes, 100mm thick)
Power Steering cooler kit, $10 from Wreckers off a VN Commodore, came free with some fluid
that's it, everything else was customized which is only the Exhaust side of things, oil sandwich plate, and front turbo water/oil lines as you'll be mating to standard manifold
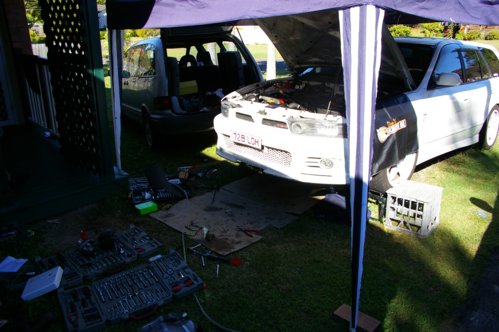
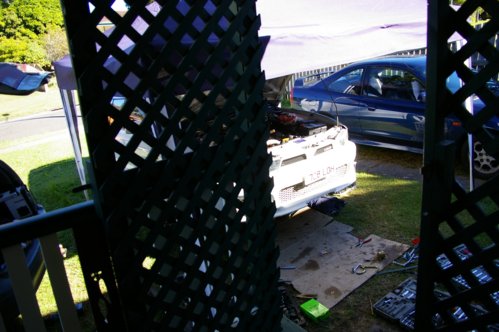
Okay, I can't be bothered labelling the photo's in order but I'll describe in the best sequence if possible almost like instructions in 'how to'..(Plus more photo's to arrive as well) and my apologies... I wanted to take more photo's but it's pretty hard to do it when you've got greasy hands
Time of build, 3 Weekends (no Overtime, literally about 8-9hrs day)
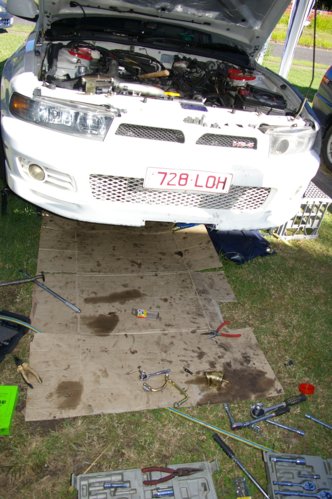
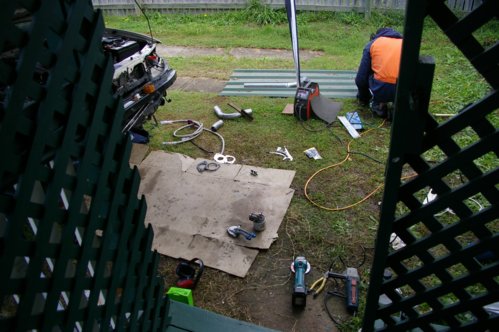
This is in a 'real' life situation where it's proven you can do it, at your home, with limited resources, if you have some sort of Tiny Asian Arms like I have, that helps and Being in a tradie helps more with that 'can do' attitude
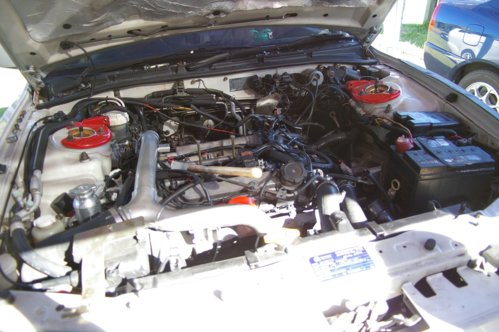
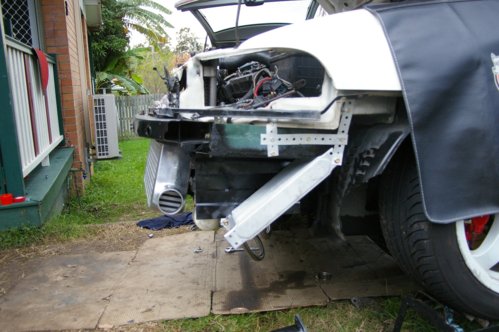
-Obviously you'd have to take everything apart, intake manifold, bumper, radiator, instake pipes, turbo's the lot
Hardest part in the removal is the heat shield to the rear turbo, the bolts on them are ridiculously hard, lucky I've got an adjustable socket head where I can undo things all sorts of angels
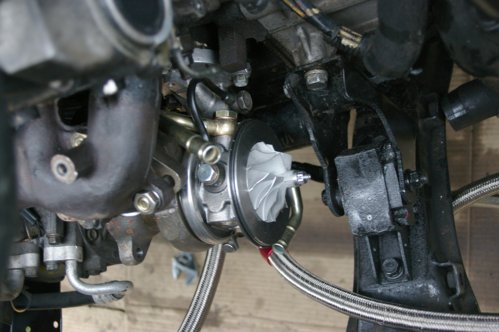
- Now they have been removed, you've realised, the rear turbo is the easiest thing in the world to reach to, so start grabbing your Subaru designed turbos, measure up against your old turbo for the flange, or simply get some new Turbo gaskets, now in the picture, you'll see where I've drilled it out, that's the ONLY place to drill it out. You can only use one existing hole, and two new holes is required. (I did this with my Battery Drill, easy as)
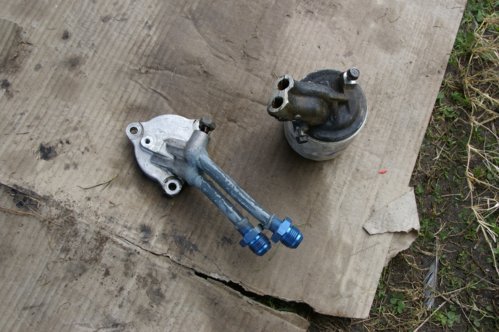
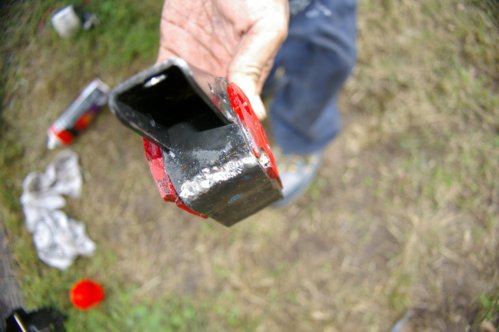
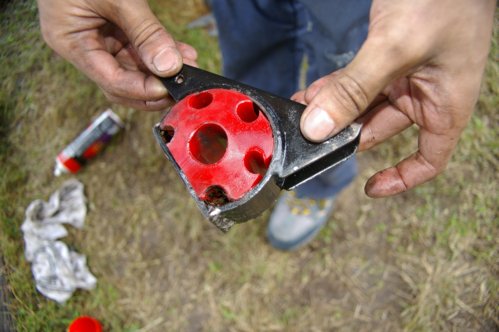
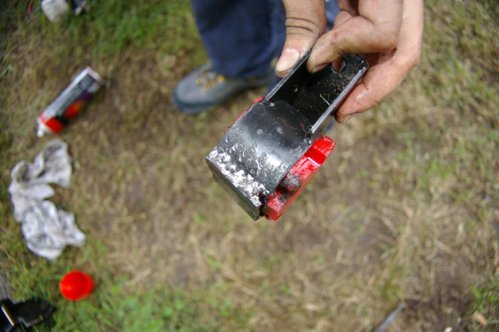
- Rear turbo now sits on a treat, front turbo, uh oh, the oil filter sandwich plate is hitting the turbo! and the engine mount too shit! well, take it all out, as you can see in the photo's, the oil sandwhich I've modified it, (it's not like that now, but more hardcore) but weld it with speedflow fittings for you oil relocation kit. This same applies to the Engine mount as it's now a half moon shape to clear the intake of the turbo (not the compressor housing)
- Rear turbo oil lines, water lines, hey hey, STRAIGHT BOLT ON (gosh rear turbo was easy) Front turbo obviously is a pain in the arse, new custom lines for oil, water is required, but not that hard. Now your radiator is hitting the compressor housing, I took out the fan, KEPT the shroud, but put a slimline fan inside, and BAM sweet
- Turbo intake pipe, I've decided to keep standard, cause I've noticed alot of folks whom upgarded, still kept the y piece behind the airbox to make things happen, soo....i've kept the whole lot, just get 2.25" silicone joiners, to join up to the new turbs
- Turbo intercooler pipe, same deal, stock, just get some 2.5" silicone joiner to join to the turbs, yes you'll have to cut out the end part of the pipe which connected to the turbo then flare it out
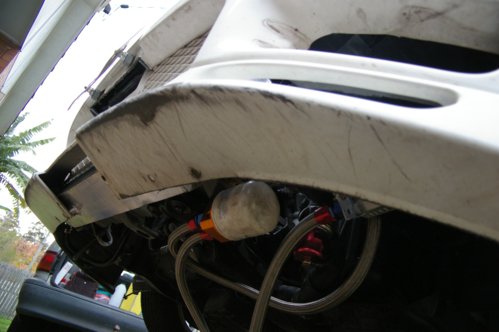
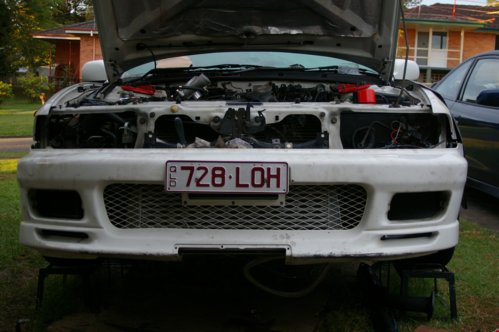
- Intercooler is just like any other install and no cutting of Reo bar whatsoever, just Vee Mounted
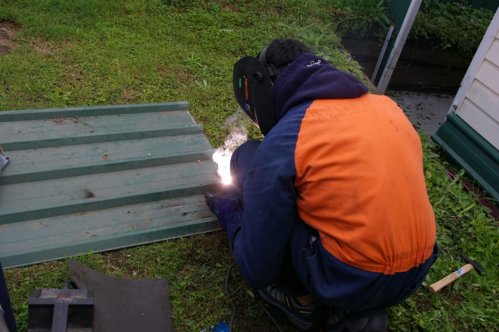
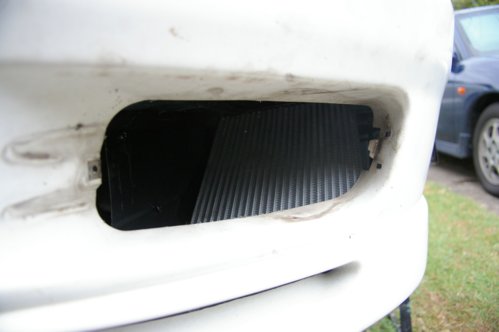
- Oil Cooler kit is installed front right as it was the best, Vee mounted was the only option for it's size, also as you can see, it's 'boxed' in as I've done with the Sheet metal to get the full air force
- Oil Filter is mounted at bottom of car you can see, as I thought was the best as it can drain out the cooler well
- Power Steering cooler was easy, just matter of removing the old cooler, get new power steering lines and re-route it to as per location
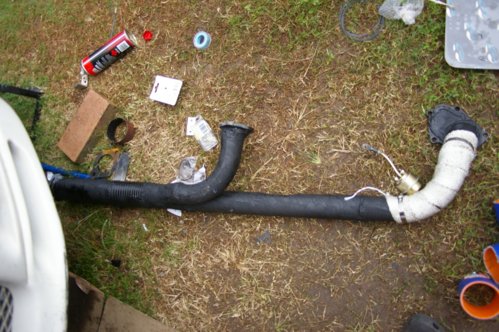
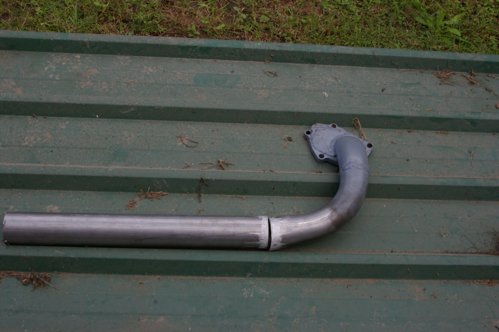
- My Dumps are 2.5" and both run to 3" front pipe with Truck style flexi joiner (HEAPS cheaper and doesn't fray like the traditional types, but freakin hard to weld to) and also clears the Cusco lower arm brace
There's obviously quite abit I've left out, but, feel free to ask, How much power does it make you say?
Car at the moment is in APC Motorsports, I've already got a Haltech standalone running it and they're doing the major service etc etc while it's there so... it'll either be end of this week, or definetly next week to get it rolling. It's already been there for a couple of weeks already so yeah not long
Plus I hate to post up something and wait for ages, so you guys only have to wait Two weeks if that to see the results
Power...meh who knows
but I do know that, my car last tuned, 14psi 173kw, drove with this setup, same 173kw feel but hovered around 8psi
All in all, TD04 would be ideal as this turbo is extremely close to firewall, so upgrading to full polyurethane mounts is a MUST to stiff the engine, and would possibly reduce the fitment labour time like I have
okay, pictures (and remember, there'll be more
when car comes back)

